
Plan Your Solar Journey
A practical step-by-step guide to planning solar panels for your home in 2026 — whether you're exploring grants, finance, or going the standard route.
Step 1: Understand your options
Before anything else, know what routes are available to you. If you're on qualifying benefits or have a low EPC rating, you may be eligible for fully-funded solar through ECO4 or local Warm Homes delivery. If not, solar loans from 4–7% APR or a standard cash purchase are excellent options — especially with 0% VAT making installations more affordable than ever.
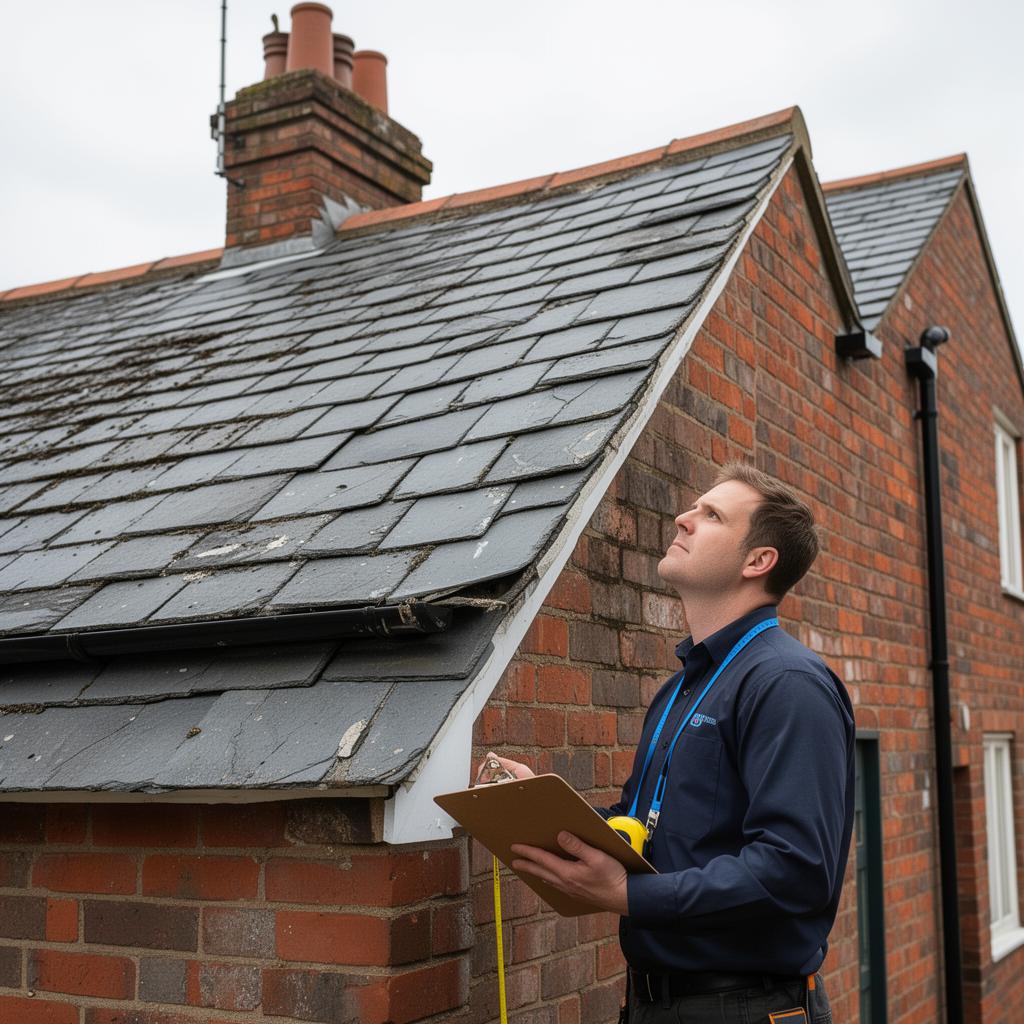
Step 2: Check your roof suitability
Not every roof is ideal for solar, but most are suitable. South-facing roofs generate the most energy (~900 kWh per kWp per year), but east/west-facing roofs can still achieve 75–85% of maximum output. Key factors include available roof space (a 4 kW system needs around 18–20 m²), shading from trees or buildings, roof condition and structural integrity, and pitch angle (30–40° is optimal).
Step 3: Get quotes and compare properly
We recommend getting at least two quotes from MCS-certified installers. Make sure each quote includes: panel make, model, and wattage; inverter specifications; expected annual generation (kWh); itemised cost breakdown; warranty terms for panels, inverter, and workmanship; and realistic savings estimates based on your actual usage — not best-case scenarios.
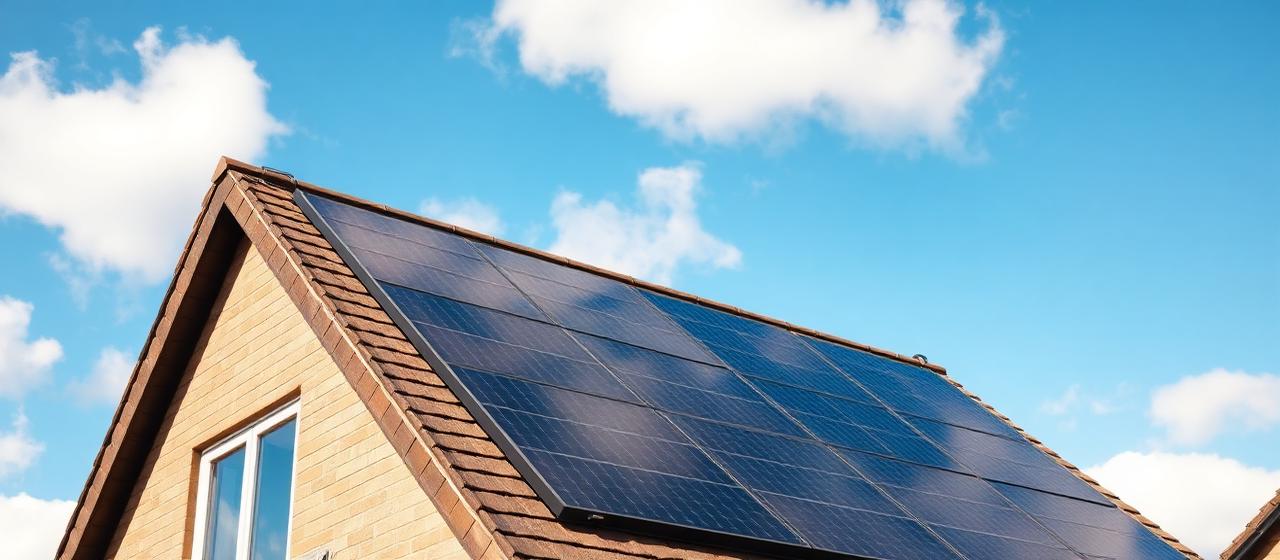
Step 4: Installation and handover
A typical installation takes 1–2 days with modern 400–450W panels. Your installer handles scaffolding, electrical work, DNO notification, and grid connection. On completion, you should receive MCS certification, all warranty documents, monitoring app access, and guidance on registering for SEG payments. Then you start saving from day one.
Related pages
Ready to get started?
Get a free, no-obligation quote from our team. We'll help you find the best solution for your home.